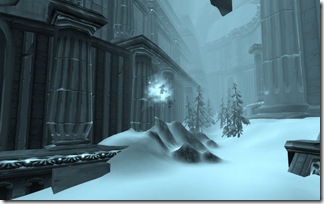
*** SPOILER*** Missed Dungeons and Raids? Screenshots if You Want to See Them

Mark this post as read if you want to remain in the dark.

For every one else, I had the screenshots in my library for quite a while.

It’s no fun listening to audio streams and listening to “Oohs”, “Ahhs”, and applause without getting to see it.

Check out the last shot, too. I don’t know if anyone’s ever mentioned that yet before. I found it interesting.

So here’s a few shots of Eye of Eternity, Obsidian Sanctum, Halls of Lightning, and Storm Peaks

malygos-2malygos-1

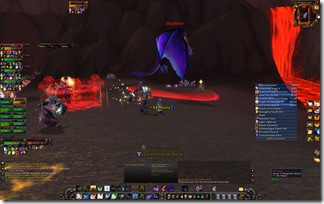
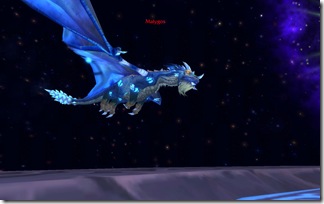
Left: Here’s a shot of Malygos in his humble abode. The raid instance is literally a giant disc with Malygos flying around until you activate him. It’s a 3 phase encounter. I haven’t successfully completed him yet so I can’t offer much at this time.

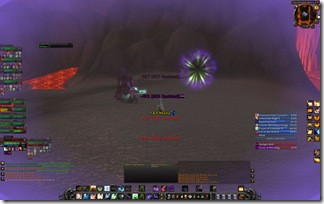
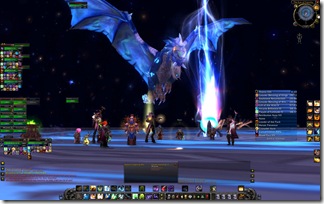
Right: Me in my awesome attempt to try and do something. Alas, Malygos is overpowered and promptly kills us a matter of minutes.

os-2os-1

Left: This is a shot of Obsidian Sanctum. Here is a shot of the party engaging the mini-bosses.

Right: You’ll notice the phasing mechanic put in play. Even though it “looks” the same, I get thrown into a different dimension. Here, I have to kill that shifted drake along with the Rogue or else something bad happens. I don’t actually know what.

os-3os-4

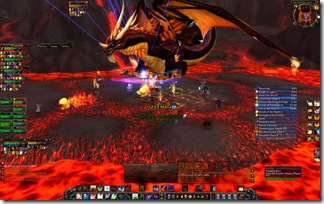
Left: We’re taking on Sartharion. The guy hits like a pansy. For the raiders, take a good look at positioning in terms of tank, boss, and group. There’s a good reason for it.

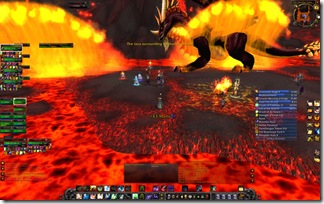
Right: … Because every so often, a big wall of fire is going to rake the island that we’re on. Notice there’s a hole. Right when the wall warning occurs, the entire raid needs to ensure they’re in one of the two “safe zones” (on the left and on the right, by his tail, if you look carefully). If you eat the fire, you get knocked back and take a non-pansyish amount of damage.

uld-1uld-4

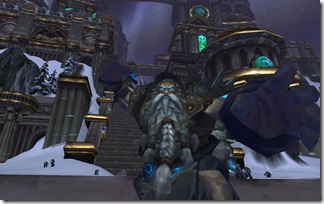
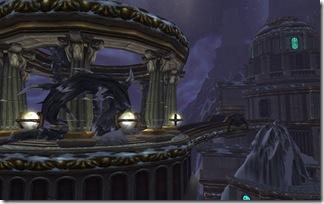
Left: One of the old guys, I think. Wouldn’t dare hit a Dwarven brotha’ from anotha’ motha’. But I don’t dare test out my hypothesis.

Right: Another shot of the exterior. Place looks b-e-a-utiful.

uld-5uld-6

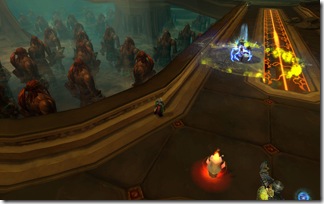
Left: Interior shot of Halls of Lightning. See those Dwarves on the left? It’s the Terra Dwarva army, baby!

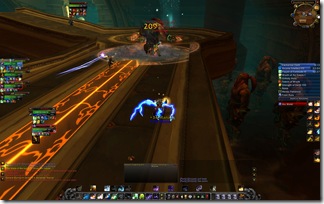
Right: The roving boss that was mentioned in the D & R panel is this guy. We decided to set him up in the corner. There’s me with the lightning debuff (Pro tip: When you get it, don’t move. Trust me.)

uld-7

Left: Lastly, check out this interesting shot. It’s right after a wipe and after I released spirit. When you died in Tempest Keep, you’d automatically res to full health and life outside. But if you die out in the Halls, you seem to res in spirit form while mounted on Ghostly Gryphon.
Healing Naxxramas – Thaddius (10 man)

thad

Thaddius is the idiot check boss of Naxx. There might be others (wait ‘til I get to Heigan), but I do think this one really separates those that can and those that can’t. You’ll find out why momentarily (but keep the first boss of Heroic Mechanar at the back of your mind).

Engage

When you enter the room, you have to engage two mini bosses before you can engage Thaddius. Fuegen and Stalagg need to go down together within seconds of the other dying. Unlike the original Naxx, you don’t have to stack melee players on one side and range on the other. The raid needs to be split fairly equally with 5 on one side and 5 on the other. It’s going to be hard to do with 5 total DPS (assuming 2 tanks and 3 healers) so I recommend pairing your top 2 DPS players together and the bottom 3 DPS players together. If necessary, adjust on the fly and rotate a DPS from one side to the other to help play catch up.

The two tanks (literally) will fly back and forth and switch between Fuegen and Stalagg respectively. I think when the Tesla Coil portion of the fight activates, the tank switches. Healers have to be aware of which tank is presently on the side that they are on. I suggest using a range finder of some sort. Aggro shouldn’t be a problem. One healer on both sides should be enough (although you’ll have an extra one, so use your discretion there). AoE healing will be the order of the day. Try to ensure everyone is near full as much as possible.

thad-3

Once you kill the 2 constructs, here’s the challenging part. You have to run and actually jump from the ledge onto the platform below! If you decide to fall off, then you’ll miss the platform entirely and hit the sludge water below (just turn around and head towards the entrance as there is a ramp that will allow you to try again).

Now you’re onto Thaddius himself.

He uses an ability called Polarity Shift.

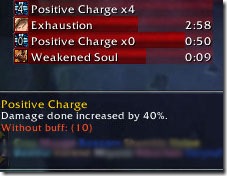
  • Polarity Shift: Places either a Negative Charge or Positive Charge to all nearby enemy targets. Players near other players with the same Charge type increases each their damage dealt. Players near other players with the opposite Charge type deal damage to nearby raid members.

thad-4And that right there is the gimmick for the fight. I like to designate left side as positive and right side for negative. You don’t have to stray too far out. Melee players with opposite charges can remain 180° from each other and still stay within striking range of the boss.
Your raid leader should be extremely vocal:

“Polarity shift soon!”

“Polarity shift, MOVE MOVE MOVE!”

Some players fail at checking their debuffs and can potentially wipe the raid. As the raid leader, I strongly recommend that you hold their hand through this as it is not worth the frustration.

Healing

thad-2 Healing is a walkover on this boss. AoE heals and single target heals on the tank should the order of the day. Your AoE healers will be able to cover both groups no matter which side they are on. Keep a single target healer on the tank at all costs. He does like to randomly fry players with lightning. It’s nothing a healer can’t handle, however.
One last thing

DO NOT LOOT YOUR ITEMS AFTER THE BOSS DIES! Wait for your charges to wear off before doing so or else you’ll be in for a very nasty (and shocking) surprise.

Healing Naxxramas – Gluth (10 man)

gluth

Who let the dogs out? No, really. Gluth is this really large dog that has been pieced together with flesh from various beasts (or people). He is the third boss you have to tackle in the Construct Quarter.

Abilities

  • Mortal Wound: Reduces healing taken by 10%. Stackable debuff!
  • Decimate Flesh: Consumes everything in the room for approximately 90% of their health
  • Infected Wound: Increases the Physical damage taken by an enemy by 100 for 1 minute
  • Enrages: Hits slightly harder than normal unless he gets a Tranq Shot

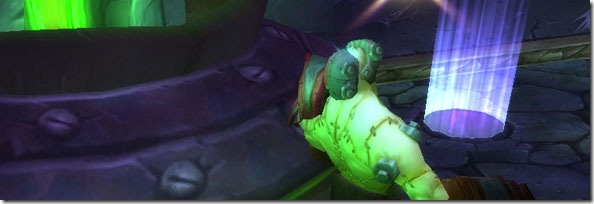
There’s no trash needed to clear to him. The path is empty from the moment you kill Grobbulus. There’s a green tube (pipe) that you need to go through and when you exit it, you will be thrown into combat right away and engage Gluth. Stay on the right side as you walk through the pipe.

So here’s the gimmick with the fight. You’ll need to have two tanks on Gluth the whole time. That Mortal Wound ability I told you about gets periodically applied to him. Ideally, our tanks will taunt off each other once the debuff reaches 3 or 4.

Not only that, there will be zombies (Zombie Chow) that stream in from time to time and they have around 500000 health. Those need to be kited. There’s no way the raid group can kill all of them right away.

gluth-1

Kiting Methods

  • Using a mage to run around while casting Frost Nova and Ice Lance to grab aggro
  • Having a Hunter with Freezing Traps and Explosive shots grab aggro
  • There are other ways, but those are what I have witnessed so far

One more thing

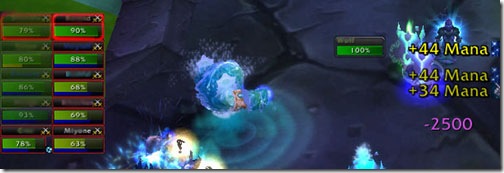
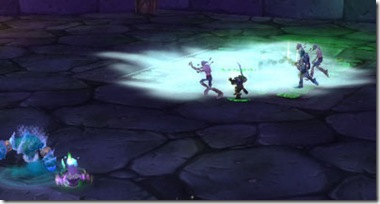
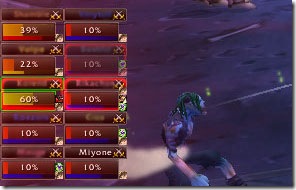
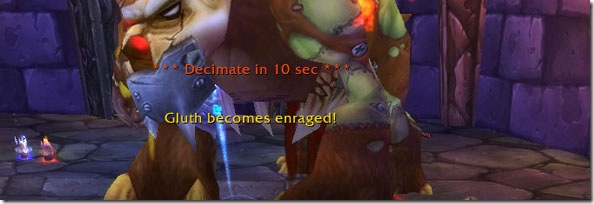
Gluth does a Decimate Flesh ability that you see in the opening shot of this post. Everyone’s health including the Zombies drop down to 10%. That’s your cue to get the entire raid to focus fire the Zombies and kill them. Otherwise if you don’t kill them quick enough, they will run towards Gluth and he will consume them and gain a lot of health back. And you do not want Gluth to get healed.

Pro tip: A few seconds before Decimate hits, have your kiter run to the opposite side of the room where Gluth is to buy your raid a few extra seconds of DPS time.

Healing

I’m strongly advocating a 2 single target healer on the tanks and 1 AoE healer on the kiter approach. Tanks will be taking a bit of a beating. Normal hits on Pate for about 4500. Enrage hits on Plate for about 5500+.

Tank healers have to focus and listen for the calls. Make sure the tanks are communicating so that tank healers know when they’re switching.

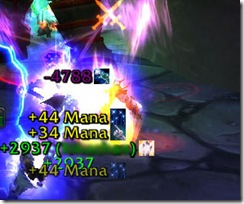
gluth-3The AoE healer will be keeping an eye on the kiter. It is inevitable that the kiter takes a few glancing blows here and there. Every time a player gets hit by Zombie Chow, they suffer a disease called Infected Wound which cannot be cleansed. It wears off after a minute. The disease causes players to take increased physical damage by 100 every time it is applied. I once had 20 applications of the debuff and believe me, it wasn’t fun at all.
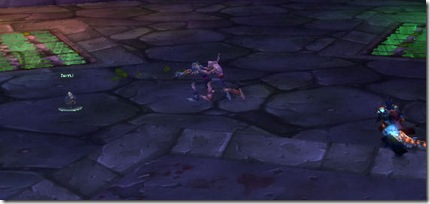
After he hits Decimate Flesh, the raid’s health drops straight down to 10%. AoE heals are big at this point. Have the tank healers get the tank health back to 80% or higher and spam the rest of the raid. Don’t forget, during this portion of the fight, that zombies don’t aggro onto anything. They’re going straight for Gluth.

Priests

Circle of Healing a few times to get everyone out of the red. Finish off with direct heals or Prayer of Healing to get more heal strength down. In fact, consider using Holy Nova while you’re near players and are also in range of the Zombies. Every bit of DPS helps.

And lastly, here’s an action shot of a Gnome Mage being chased by some hungry Zombies. I wonder if he gets away…

gluth-2

Plan Your Raid with RaidComp!

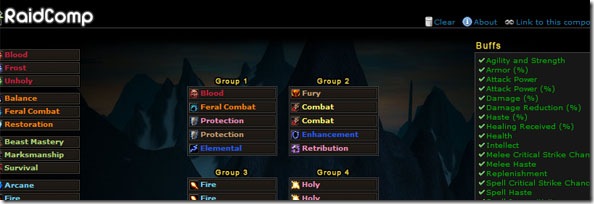
raidcomp

MMO Champion’s released a great new tool for Guild and Raid Leaders alike! It’s called RaidComp!

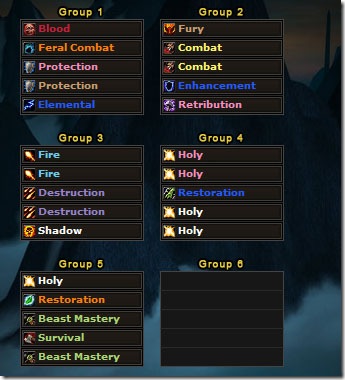
The basic premise of the tool is that it allows your leaders to plan raids and optimize them by literally dragging and dropping different class specs. The right side of the screen shows buffs and debuff abilities that the spec can bring.

With buffs now being applied raid wide, it would be time consuming to manually figure out what spec your players were and what abilities they had on your own. Using RaidComp, you don’t have to do that anymore.

raidcomp-2

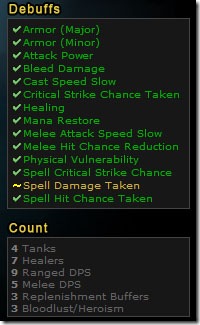
Right: Here you can it showing the debuffs that the raid composition I picked will be able to apply. Below the debuffs, you can see the total count of the number of tanks (based on talents), healers, Ranged DPS, Melee DPS, Mana Batteries (Replenishment), as well as Heroisms.

There are certain classes and specs that will overlap with each other. You’ll notice that Spell Damage Taken debuff is in yellow. I have a Warlock in there with Curse of Elements which increases the Spell Damage taken. There is a talent that increases the potency of Curse of Elements to 13% (Spell damage taken increase).

Alternatively, if I didn’t want the Warlock to pick up that spec or if they didn’t want to get the talents for whatever reason, I can mouse over that and it will show me the other classes and spells that can do the same thing I want. You can see what it looks like below.

raidcomp-4

Below: And just for fun, here’s a test raid that I threw together just for kicks to ensure that I could get every possible buff and debuff so you can see what it looks like. It offers full support for a 40 man raid. Not only that, you can even export builds as links and share them with other players.

raidcomp-3

A great big thanks to the tech monkeys at MMO-Champion for coming up with this nifty script!

Healing Naxxramas – Grobbulus (10 man)

grob-1

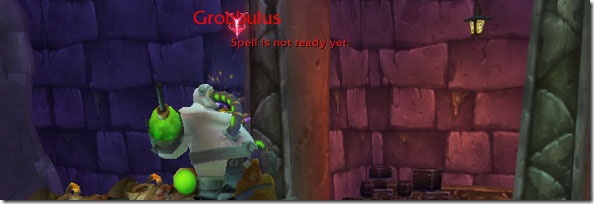
Welcome to Grobbulus! You’’ll run into him right after Patchwerk in the Abomination wing. Once the room’s been cleared out, get ready to grab Grobby!

Abilities

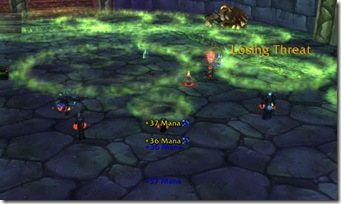
He puts a disease on players at random called Mutating Injection. It’s very important that it does not get dispelled! There’s a boss in Blood Furnace (the big floating Eye) that drops poison clouds all around the room. This boss also drops poison clouds. If the disease on you gets dispelled or if it wears off, then you drop a poison cloud.

Slime Spray is another ability of his which hits for a decent sized amount. Any players who are affected will spawn slimes. DPS needs to kill slimes when they spawn!

  • Poison Cloud: Deals a moderate amount of damage

So how do you handle it?

grob-path

The Process

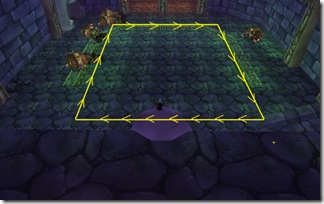
Tell your tank to pull Grobby in a clockwise direction. Don’t move him too fast. You don’t want to rush him around because it takes time for poison clouds to wear off.

Your DPS and healers will be standing in the middle and shooting outwards. Melee players will be standing behind Grobby as he is being tanked. Don’t forget to kill Slimes as they spawn!

If you get hit with a Mutating Injection, run and stay behind Grobbulus until it wears off. The main idea here is to keep the poison clouds on the exterior of the room thereby leaving the middle area relatively clean. Once diseased players are in a safe position, then all you need to do is Cleanse or Dispel them. The debuff will wear off and a poison cloud will expand where they were standing. Make sure they run back after the debuff wears off.

grob-3

Healing

I suggest using a 2 healer on tank, 1 on raid setup. Grobbulus does not hit really hard and the damage should be manageable. The concern here is the amount of players absorbing AoE damage from Poison clouds. As long as they are alert and aware of where they are relative to the clouds, they should have no major issues.

Other Notes

Grobbulus’ abilities are Nature based. Consider using Aspect of the Wild or other Nature Resistance abilities (Totems?). I do not know how effective using the resist is but it could help the raid stay alive longer than normal and buy more time. I haven’t had a chance to test Nature Resist. But it isn’t a necessity.