Happy May, everybody!
Welcome to this edition of Matt’s Misplays. This week, we say farewell to Vault of the Incarnates. Not a bad introductory raid for Dragonflight, wouldn’t you say?
But hey, it’s official! I’ve officially received my 8/8 Mythic Vault of the Incarnates achievement. I insisted that really it was no big deal if I didn’t get Dathea down on Mythic. I could always come back to it in 3 expansions. But no, no, no, the raid couldn’t have that. They practically voluntold me in there even though I felt Dathea was worse than Rasz.
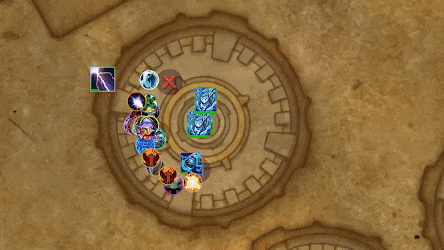
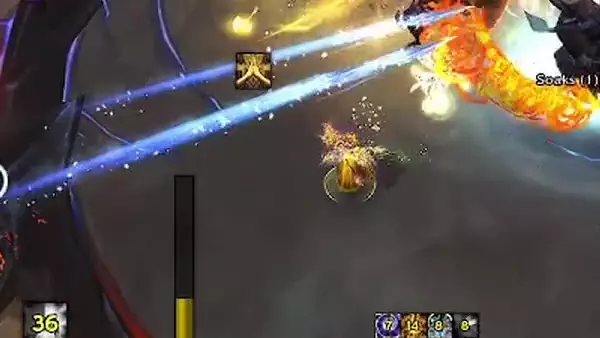
Let’s start at Terros.
In hindsight, this grip may not have been necessary. Broccoli over here looked like they were close enough to the portal, but Panda didn’t want to leave it to chance. There’s plenty time before the Annihilation where there isn’t a lot of action going on and range players have to get close and be prepared to hit the portal. Otherwise you run into situations like this where we have stragglers.
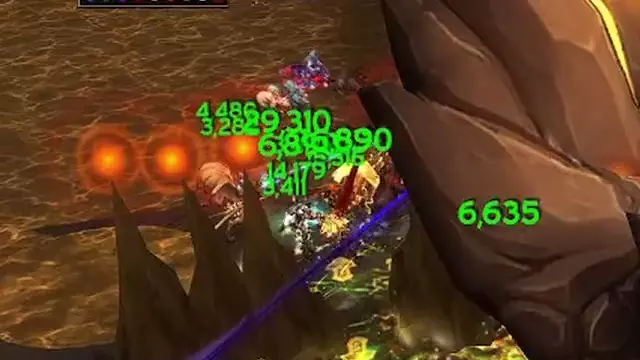
In this situation, an all in play has been called. The tanks have been instructed to NOT blow up the pillars because there may not be any defensives left to use and the concern is that Terros gets defeated before the pillar damage overwhelms the group. Unfortunately, this carries a risk. A slam is about to happen and the melee group is trapped. To their right is a wall of pillars. In front of them is a giant hole. To the left is a sea of brown dirt. The only safe move is behind them into that little sliver of safe zone goodness. Good players identify this fast and can move into there the moment the circle appears. Risky players pop a defensive and dodge left before returning to safety.
And then you have Paladins who just don’t care and pop bubble while shrugging off the damage anyway.
Moving on to Sennarth is another set of problems as there’s a greater focus on positional play.

The run up the stairs from platform to platform is often one of the trickier ones. On the first set of stairs, it’s possible for the spider grip to come out and snatch people to their doom. Great Priests knows to look behind and camp at the top of the stairs just to help catch any stragglers. A common Life Grip technique is to target a player ahead of time if you think they’re going to need it. In this example, I managed to fish out the Shaman behind the cyclone and then grip them to safety after they crossed my screen from right to left. If I grip earlier, I run the risk of pulling the Shaman into the cyclone.
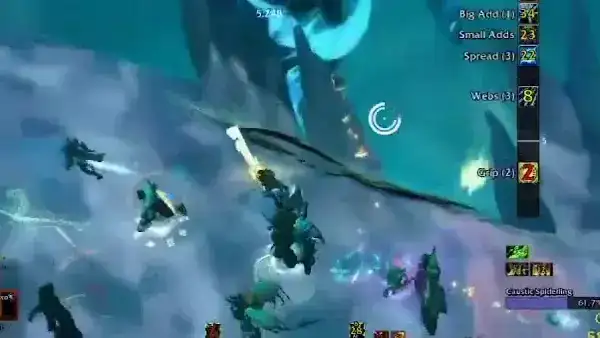
Here’s another example but from the perspective of the gripped target. I actually think what happened is that the Paladin was pulled through the cyclone which launched them into the air. But Taurens are huuuuuge! It was easy to pick out a big, jumbo Tauren Paladin in mid-air as they go flying from one side of the monitor to the other. Not that I think they’re too large or anything, but they could afford to cut down on the boba tea.
I’m more amazed about this play myself. The hunter manages to disengage back on, but it might’ve been a touch too early or they disengaged into that tornado. It slowed them enough to fall into the abyss, but this Panda was able to target them quick enough to get them back to safety. I credit thousands of hours playing CS:GO and Call of Duty. Who knew clicking heads could translate to raid, right? Now had that player been a Gnome-sized model, they would not have had a chance.
A Priest who’s able to make player-saving plays like that consistently is going to be an asset on your raid team.
However, any raid leader worth their salt would be disappointed. The most important point my GM has ever drilled into anyone on the roster is to always be in the right position. A great raider knows to never be in such a vulnerable spot to begin with. The Warlock gate placed there is near the inside track close to Sennarth. With timers, players should be aware that there is a pull-in coming soon. Either accelerate your movement so that you’re safe ahead of time or if you don’t think you can make it up the stairs, quickly move laterally towards the outside to buy as much time as possible to fight the pull-in. Staying inside while applying boss damage up the stairs is extremely risky unless you have an out (such as an Alter Time) and can be punishing.

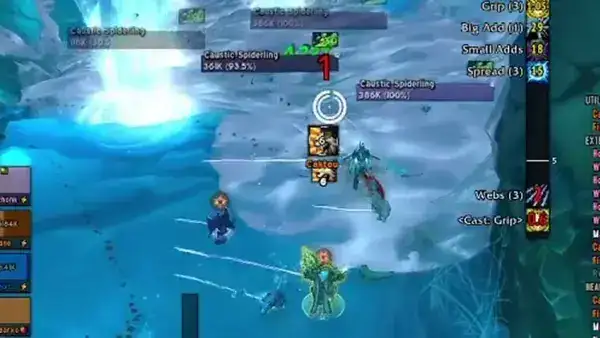
Can’t stop stressing movement fundamentals no matter what boss you’re working on. Players will periodically drop webs. In this example, the Evoker commits an error and just drops webs that cover the narrow portion of the bridge slowing people that need to cross (like our resident Panda). We instruct our players to try to handle this in one of three ways:
- Use a defensive and drop it in the same spot
- Make a small circle with it so you’re still moving and not taking as much damage
- Move in an east-west pattern (facing Sennarth)
What you don’t want to do is move north-south (from the back of the room towards Sennarth), because now you’ve slowed down and cut off the path for anyone looking to advance across the room. Expect more of these types of mechanics in future raids. It’s not enough to ensure survivability when dropping pools of danger. You have to consider how your pools will impact your team. Don’t be the guy that messes with the team and loses them boba tea privileges because you screwed up.
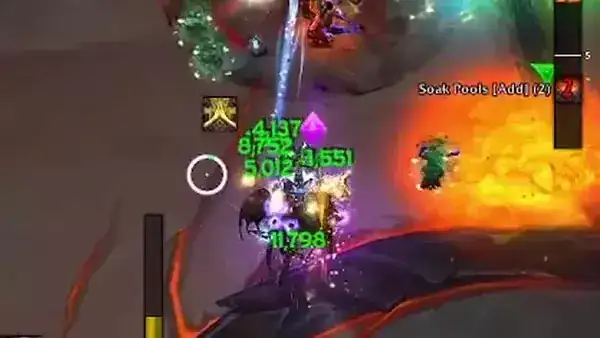
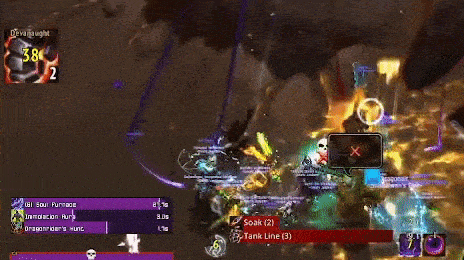
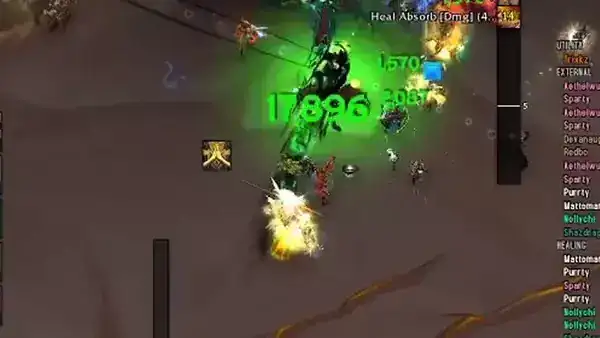
This is a look at the first phase of Kurog where we handle the fire altar. What we’re trying to do is stack together and bait all the fire pools in one area then move. We have just finished recovering from a Searing Carnage and you can see a Warlock coming in from the right desperately trying to get back with the group. Unfortunately, they were a touch too slow and you can see a fire pool does target them. Not exactly optimal for the soak person because now they have to run into that orb after they soak the neatly stacked orbs.
Another big no-no moment is you can see a player taking an early lead off (keep your eye on the range group and watch the left side) and moving to the left before the fire pools actually spawn. We get away with one here because we’re lucky they didn’t get a pool spawn and cutting off the range team. Our Panda should have held left strafe key, but was anticipating a pool drop on the left just in case and responded with a screen rotationg to the right, then strafe right for maximum speed to safety before rejoining the team after. This is the kind of thing raiders can get smacked with a rolled-up magazine over. Do not cheat and pre-move in order to bait puddles because you can screw up the raid. Had we been punished, it would’ve resulted in no boba tea for anyone.
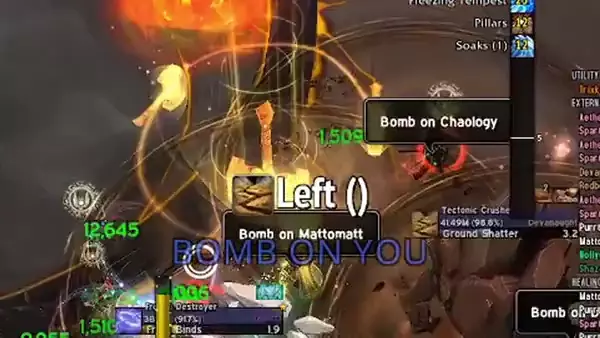
With any kind of soak mechanic, we have a standing instruction. The first player that’s in the soak takes it unless told otherwise. Here we see a lightning pool spawn on Panda and a hunter coming in from right to left. There’s a thought process where the Hunter can take Panda’s pool, and then Panda can shuffle left and take that pool. Luckily, a Warlock sneaks up and soaks that one then it’s a simple step back for our Panda to soak lightning again. Early on in progression, healers were asked to never soak lightning pools because it ran the risk of the Thunder ad teleporting over to it and taking it out of cleave range. But with gear upgrades, that is no longer a factor as the Thundering ad will die before it gets another teleport off.
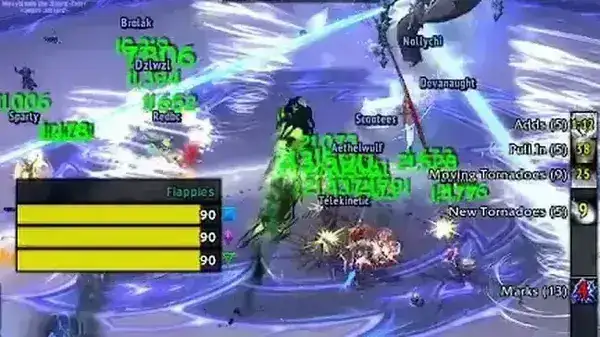
The double donut during the earth altar is where most groups tend to lose ground. It often boils down to tank spacing and tank timing. Our tanks are able to split the Earth ad and Kurog apart to give the raid optimal space to work with. One donut goes off first, then the other donut. Inexperienced raiders can panic as they attempt to try to process dealing with two donuts at the same time. However, a veteran raider will know to only deal with them one by one. In this sequence, Panda commits to the right side donut and allows that one to wash over before sidestepping into the second donut. Be patient, take these slow, and deal with it as it comes. Trying to do both at the same time is extremely risky and often unnecessary. But credit to the tanks for peeling away from each other and giving the raid maximum space and time to work with.
Intermission 2 ads are straightforward. With the earth circles, Panda made the mistake of going in the same direction as the other two. When dealing with circle drop mechanics like this, and with no better option, try to park in the… uh, crack of the other two so that you don’t risk overlapping. What a heads-up play to get gripped back into the group though (I don’t know who snatched the Panda, but good job). It’s nice to get gripped and panda handled once in a while. Wasn’t expecting that otherwise would have gripped another player who had the earth soak on the outside back in as well.
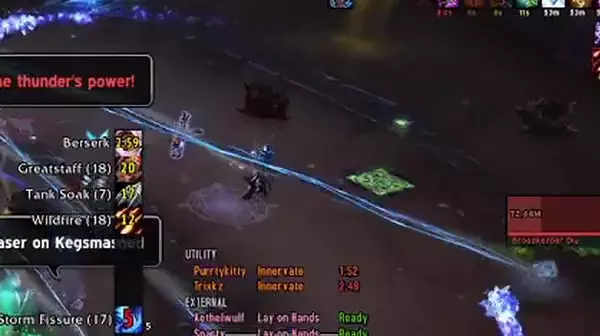
Okay, last misplay here on Broodkeeper. I actually don’t know what happened here. Evoker just … dashed into a lightning circle?
Hello?!
Evokerbrain?!
Anyway, I thought that was kinda funny so I just had to include it.
That’s it for this week! No raiding for us as we take the week off and prepare for Aberrus. For you raid leaders, there are some new resources to check out.