Here it is. Welcome to the most potentially complicated 10 man boss ever. By popular request (from Jove!), I’ve nailed down the process of how to handle the Four Horsemen on Normal Naxx mode. I’ve seen a few questions asked by a people asking me if I’ve ever done this fight before. I did do it on 25 but I didn’t feel qualified to address this on 10s. I’m not going to write about a fight until I get to experience it myself first hand (and that will continue to always be the case with boss fights).
The Four Horsemen have had a reputation for being the most difficult encounter before Burning Crusade hit due to the level of timing and coordination that it required from players. The Wrath variants, while a little easier, will still require some semblance of coherent teamwork.
The Abilities
The Knights have their own individual debuffing marks which gradually increase the amount of damage that tanks and other players around them take:
Note the fact that it is a stacking debuff which increases the amount of damage you take. The first debuff is applied after 20 seconds and then every 12 seconds after that. It has a max range of approximately 65+ yards and is applied one everyone within the vicinity. You cannot use any abilities to make the Mark fall off (Divine Shield, Ice Block, etc).
Every Horseman must have a player nearby that can get the Mark. If there is no player within 65 yards of the Horsemen, the raid will take massive damage and subsequently wipe.
Each Knight has it’s own unique spell:
Placement
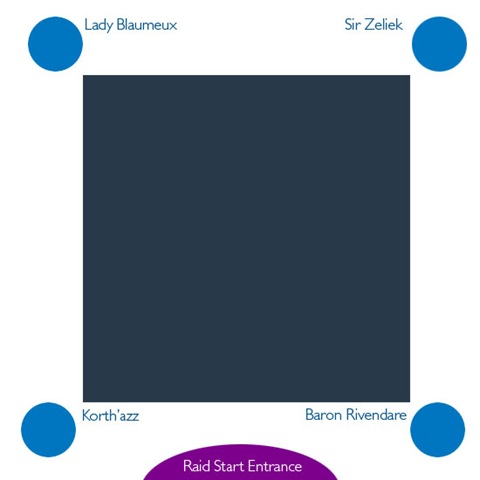
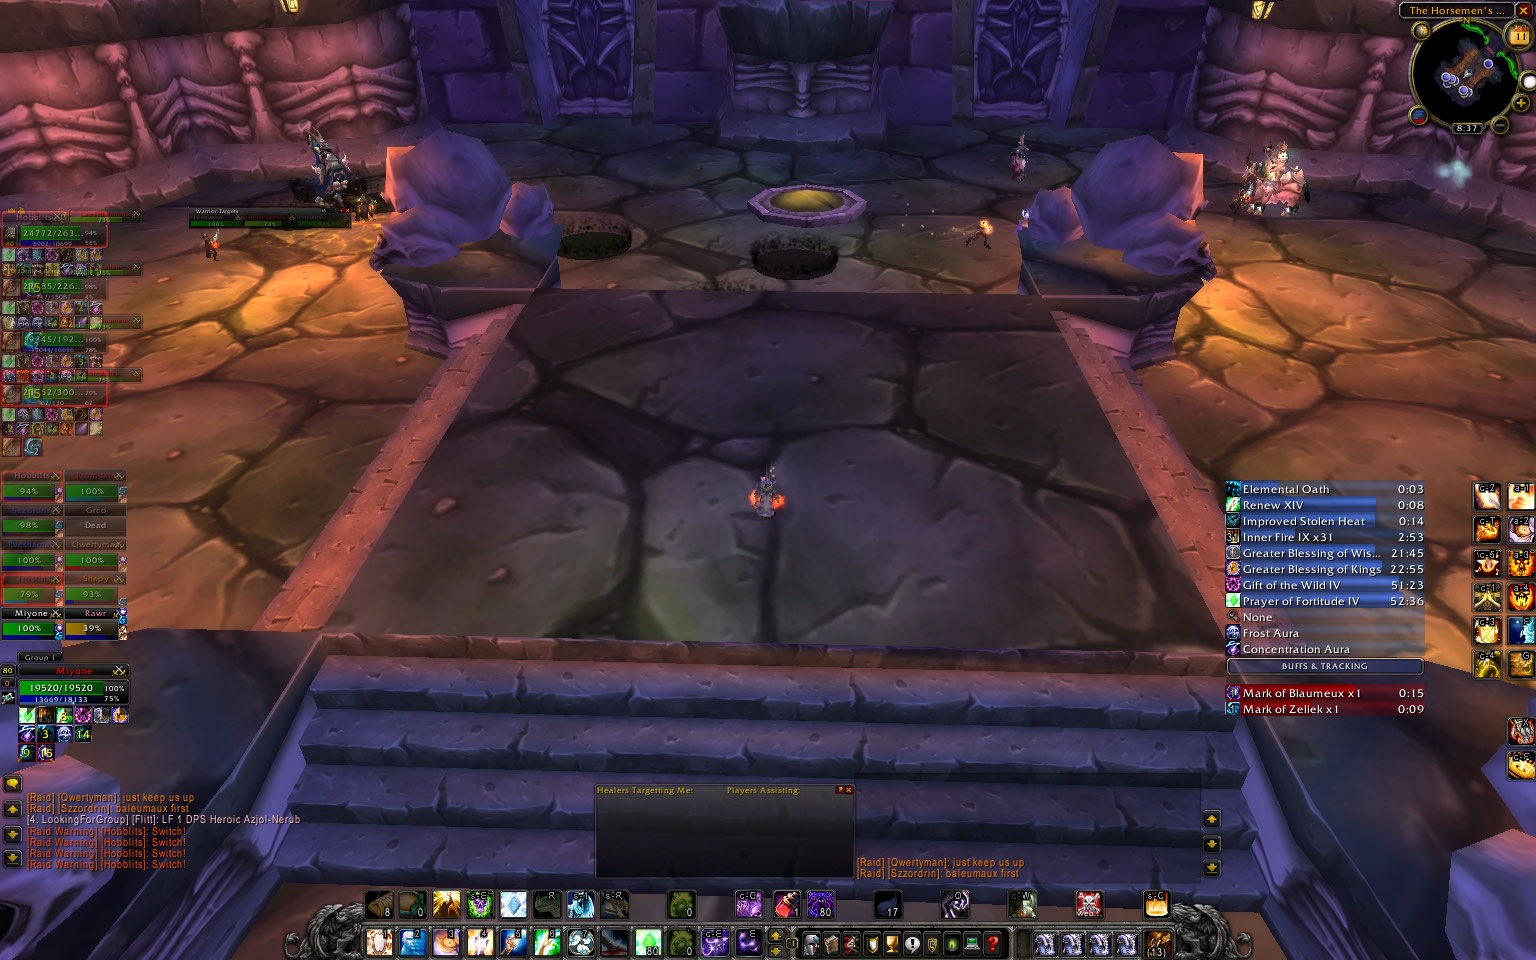
Four Horsemen is unlike most encounters you’ll see in the game as the bosses are on preset scripts that take them to specific locations. Sir Zeliek will always go to the back right of the room, for example. When setting up, send your Caster/Healer pairing to the back end along the left and right walls respectively.
 Note: I really recommend using a healer class and a class that has the ability to heal itself (Balance Druid or Elemental Shaman), but I stress that the fight can be done without either of the two. The healer in the back has to compensate by being really on the ball with their regeneration and healing if such a player is unavailable.
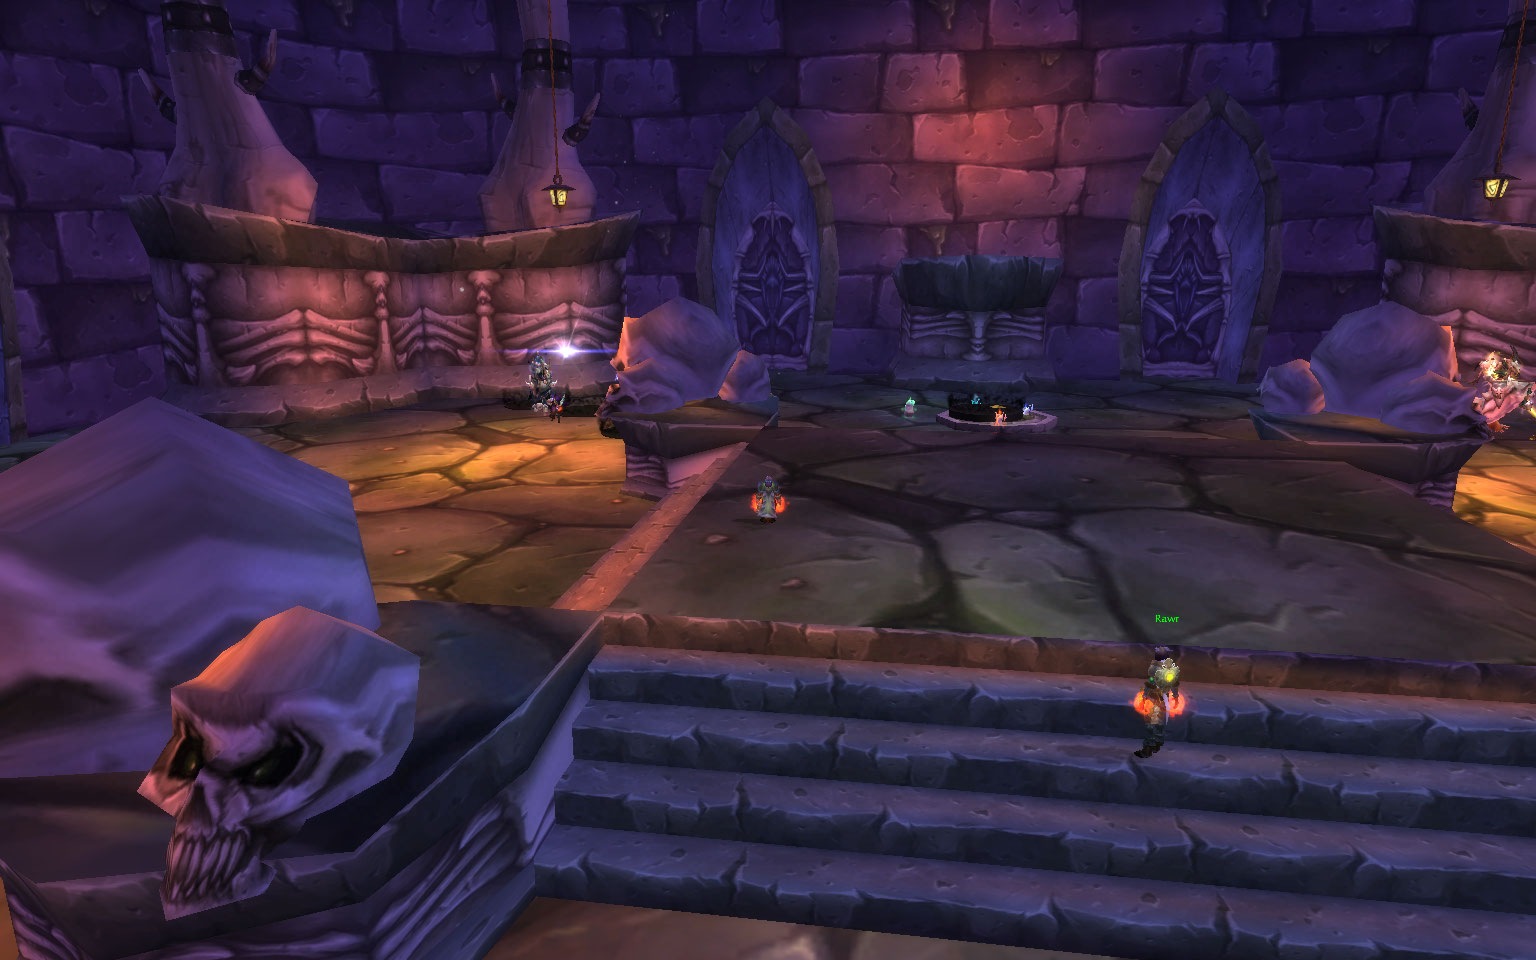
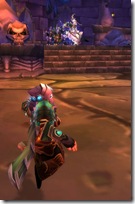
Left: Matticus sneaking up the right wing. Those Knights won’t know what hit them!"
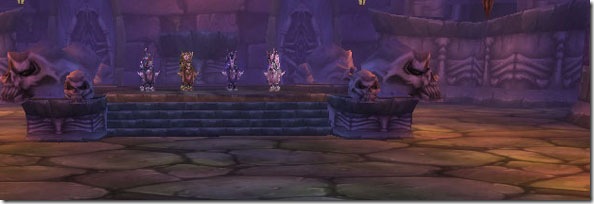
To activate the event, all you need to do is walk up to them and shoot them before they automatically race off to their locations.
Lady Blaumeux and Sir Zeliek do not move from their positions at all for the duration of the encounter and remain stationary. Korth’azz and Baron Rivendare are tauntable and movable.
Strategy
This strategy used makes sense if you remember the fact that each Knight has their own debuff that they apply. Each tank is required to pay strong attention to their debuffs.
Raid DPS starts out at the front of the room working on Korth’azz and Baron Rivendare. The raid will be positioned on the front left side of the entrance engaging Korth’azz first to eliminate the Meteor effect as quick as possible.
Caster tanks
Once the Knights are in place, they’ll start locking onto the players that are closest to them. Zeliek does have his own chain damage type spell (Holy Wrath) and that’s why the Zeliek tank is going to be alone for the first half of the encounter.
The magic number of debuffs before you move? 3 maximum.
Once you get 2, signal the other tank on Lady Blaumeux. Remember, the debuffs have ranges. The only way to shake them is to outrun the original Knight.
Example
I was tanking Zeliek and I had a boomkin as a partner on Blaumeux. When we got to 2 debuffs, we’d slowly cheat towards the middle. Once we hit 3, we made a mad dash to the other side and star tanking each others original mob. As I ran by, I loaded up my boomkin partner with Renews, a Prayer of Mending, and a Shield. Similarly, he’d hit me with a full stack of Lifeblooms.
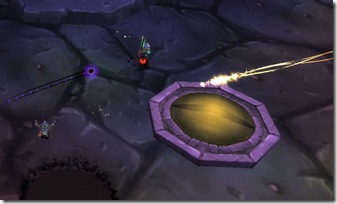
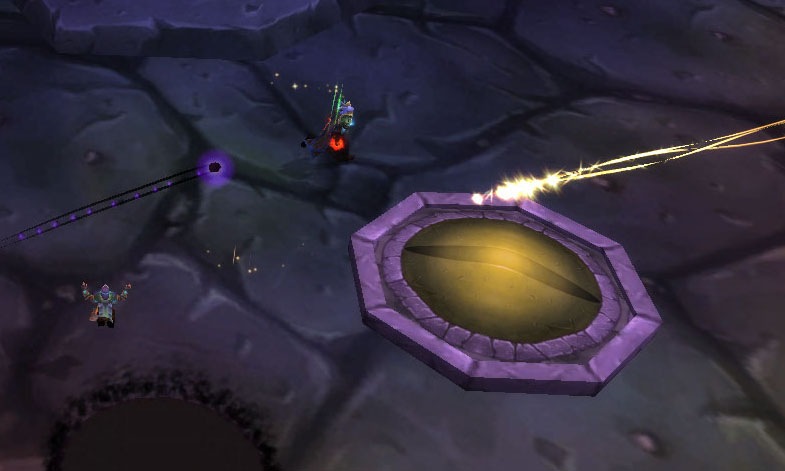
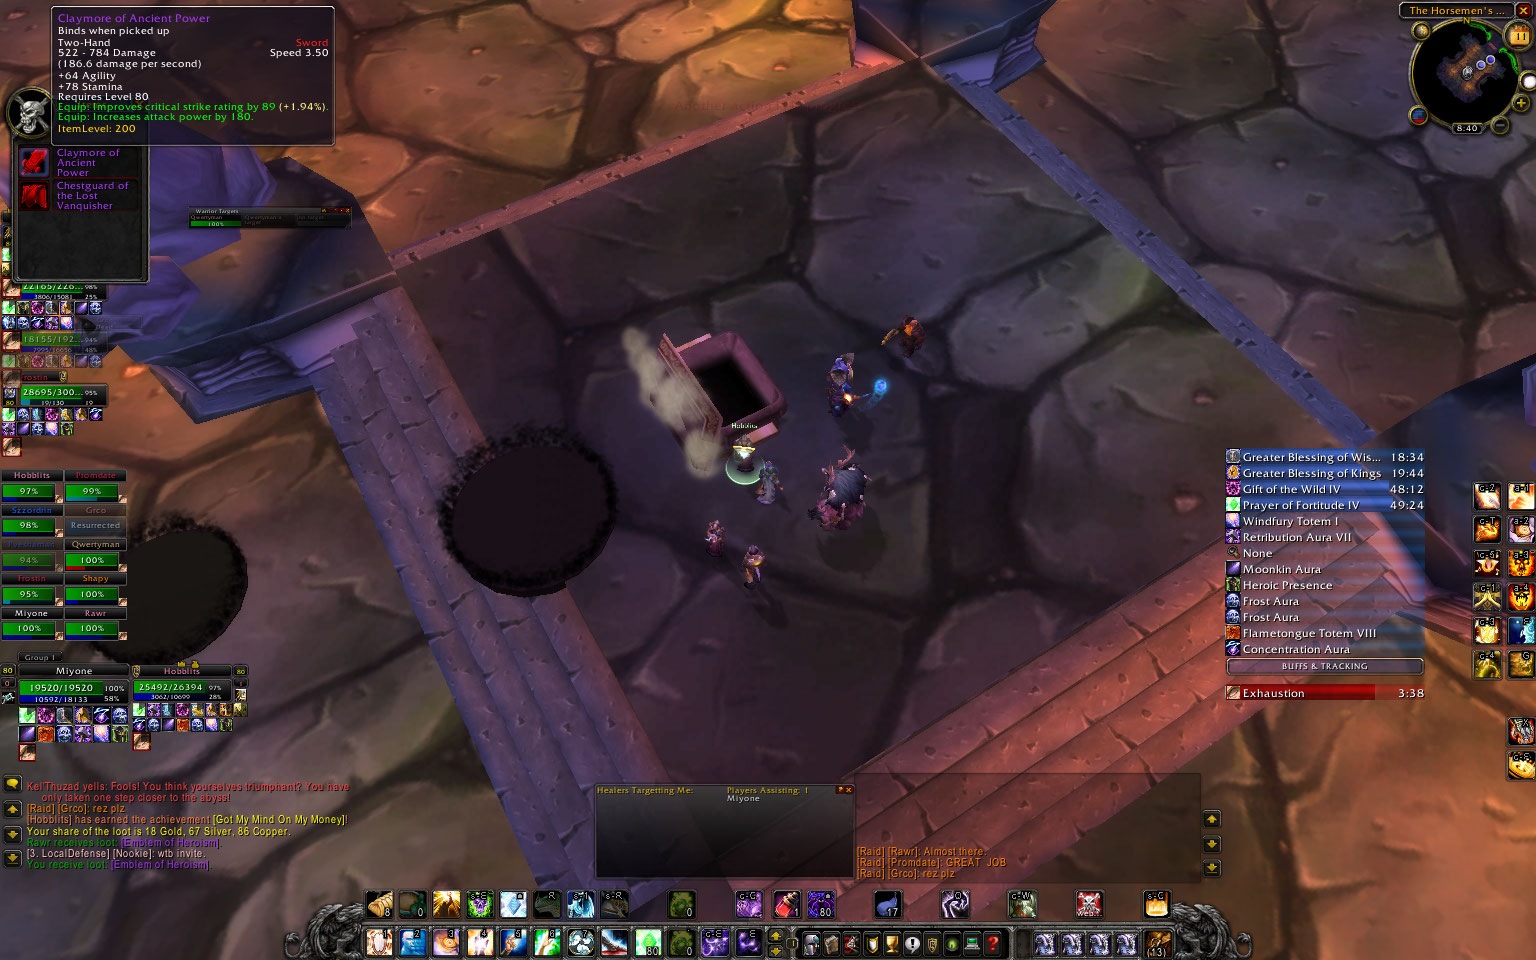
Center: Me and my Boomkin homeboy tag teaming. Note the Shadow Bolt from the left and the Holy Wrath from the right about to nail the two of us. He’s running right towards my original Knight and I’m running left towards his Knight. Void zone on the bottom left.
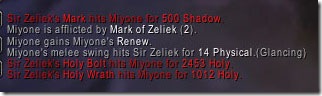
Don’t worry extensively about the damage being done. The Holy bolts hit me (clothie Priest) for about 2500.
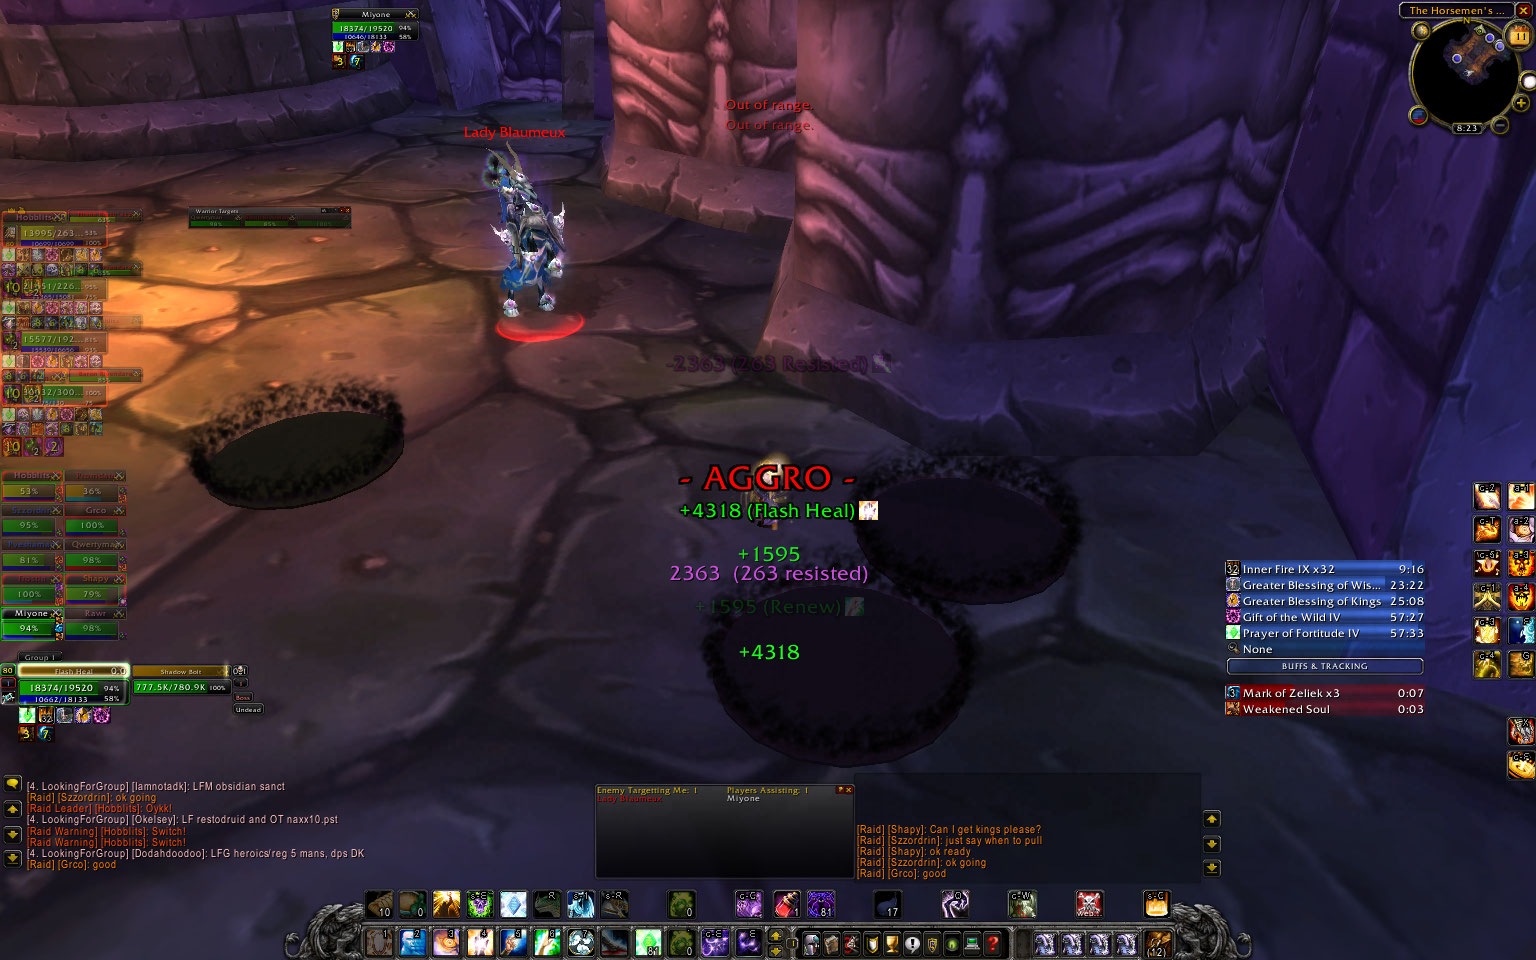
Be aware that Lady Blaumeux does put out void zones. She targets the player when she does so. Keep your eye on the ground and when you see the black hole, side step it. Try to be tactical and strategic about your placement. Don’t place them in the path between Blaumeux and Zeliek. (Pictures at the bottom)
Melee tanks
Set up 1 healer on the front right and the front left. Those healers will be assigned to the tanks that are immediately close to them.
Got the raid set up on the left? Good. They need to stay within 8 yards of Korth’azz to distribute the meteor equally. Here’s the tricky part of the encounter which is based mainly on observation and inquiry.
Tanks will still switch after 3ish or so debuffs, but there is a trick. The two tanks for Rivendare and Korth’azz have to run towards each other and meet in the middle. Then they taunt off each other, and turn around and run in the direction they were originally coming from. The raid group and the supporting cast will need to stay in their locations. Some things have changed. The DPS group runs towards Korth’azz (meteor guy) and the lone healer on Rivendare will also follow. The idea here is to shake off the original debuffs. Let the tanks switch their targets. When the original debuffs fall off, they return to their original targets.
Example
That last part may not have been clear, so let me try again.
Ubertank the Death Knight tank is on Korth’azz left. PseudoPally the Paladin tank is on Rivendare on the right. The third mark’s about to hit, so they run towards each other.
At this point, they’re within melee range of each other and will soon begin to acquire debuffs from both Knights.
PseudoPally tanks Korth’azz, turns around, and drags him back to the bottom right. UberTank, the smart Death Knight that he is, realizes that PseudoPally’s taunt affects more than 1 mob at a time and waits for PseudoPally’s taunt to go off before using his own taunt to peel Rivendare off and back to the left.
The two Knights have now switched locations allowing time for the original debuffs of the raid to wear off. DPS stays for a few seconds and DPS Rivendare. After the FIRST MARKS WEARS OFF, they run towards Kor’thazz and the Paladin on Rivendare switches back to healing PseudoPally.
Both Knights should die within seconds of each other as the DPS will be split amongst them fairly equally.
Korth’azz and Rivendare down
At this point, the initial Knights are dead. The entire raid will then move up and start working on Zeliek and Blaumeux. The same tank switching principle applies. All healers will collapse back to the original spawn platform where the Horsemen stood. If any player that isn’t a tank picks up too much of one debuff, have them turn around and run back towards the south side of the central platform. At that distance, the Mark should easily slip off and allow them to resume.
Get the raid to focus on Blaumeux first before the Void Zones become a pain. You don’t want to deal with Ziliek’s proximity chain Holy spell just yet anyway.
After 3 Marks, PseudoPally and Ubertank will have to switch and continue to do so. Just mind the Void Zones! Keep that up, and the boss will go down.
Congratulations! You just killed what was once considered the toughest boss in Naxx!
Healing
For Priest tanks, I suggest keeping a Renew on yourself to help lessen the blow. When you reach around 60%, drop a Greater Heal. If you’re healing the other tank near you, don’t forget to use Binding Heal and maintain Renews on the two of you.
When you’re on the just the two Caster Knights, work out a rotation with the healers. Try not to eat the Marks. Sometimes you have to because of LoS issues or because you just have to.
Action shots
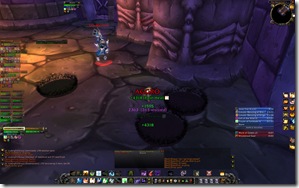
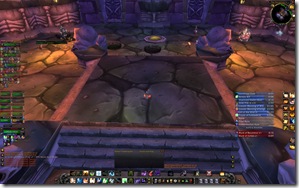
Above left: Even at this distance, I can still hold aggro against this boss. Note the positions of the Void Zones. As I’m tanking, I try to position as many of them together in a cluster as much as possible.
Above right: Me trying to shake off the two Marks on me. I’m at the back of the platform not healing and the other 2 healers are aware of this. We’re each taking turns switching on and off.
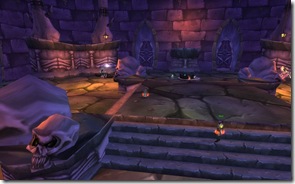
Above left: A Starfire about to kill Void Zone queen here.
Above right: The results of our labor. A 2H sword. Where’s my freakin’ caster loot?
EDIT: 11/25 – Modified strategy for the Kor’thazz and Rivendare aspect. Look for the Strikethroughs.
Did I forget anything? Please post a comment! Questions? Post those too! I’ll do my best to get to them! Otherwise, feel free to check out my healing guide for the Naxxramas bosses.