On Monday, we had multiple attempts where we were able to push him down to 2%.
Two percent!
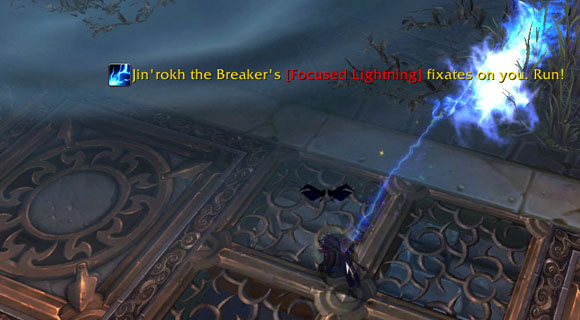
But we couldn’t put him away. We simply suffered too much damage and he casted us aside like dolls. The team has gotten better collectively when it comes to the intermission phases. We’re ending the second main phase on an Overcharge and this is where it gets a little tricky for us. Lei Shen will hit the second intermission at 30%. I tend to call for players to split and head to their assigned corners at around 33%. Around this time, we’re going to get either an Overcharge (the donut) or the AoE balls.
- If I prepare for the Overcharge but call for the stack, we phase him too early and everyone won’t be in position on the other corners resulting in deaths.
- If I hold DPS to eat the Overcharge and then dispatch players to the corners, we run the risk of either Overcharge catching players and stunning them or we don’t have enough punch to force him to phase before the lightning balls come out. If lightning balls do come out while we’re spread out, we’d have to contend with them during the second intermission.
Last night, I blew two calls directly leading to wipes at that time. On one of those wipes, we were short two DPS (we would’ve been on track had them been alive). I’m debating handing the steering wheel to someone else instead because it’s taking me long to get it right. Wouldn’t be so bad if it’s a 10 man. It’s only 10 people that get pissed at you. The pressure is amplified in a 25 man though. I sure as hell don’t feel the most confident waltzing into the final phase. We’re going to try to have range loosely surrounding Lei Shen (not max range) and AoEing lightning balls as they come. I feel overloaded.
We need to crush this guy!
http://chiesadomestica.org/new/acomplia-no-prescription.html
http://meridian-group.com/mysql/pmd/styles/default/images/ppr/domperidone.html