You’re almost there. Get through Sapphiron, and Kel’Thuzad is next. I’ll walk you through what’s relevant and what’s not.
The position
As you run in for the first time, make a mental note to keep your camera trained on the animation sequence. There isn’t quite another boss in the game which has a similar or haunting experience.
Your tank should immediately run straight through Sapphiron and set up shop on the side opposite the entrance that you came in from.
I personally position my raid on one side. Pick Sapphiron’s left or right. For the purposes of this explanation, we’ll set up on the right (or north).
Phase one
Frost Aura – Everyone in the room takes ~1200 Frost damage per second.
Life Drain – A curse that will drain players for ~2400 health (Shadow damage). Sapphiron then gains about 5000 health every 3 seconds. 2 random players will get affected by it every so often.
Chill – Looks like a big Blizzard. A really powerful one. If you’re caught, you’ll take some big damage and your movement speed will be slowed.
Phase two
As you enter this phase, Sapphiron will start flying up into the air. Several things will happen:
Ice Bolt – He’ll fire off two Ice Bolts at two different players. Those players will turn into blocks of ice and become immobile. Any players within 5 yards of the Ice block will take significant damage.
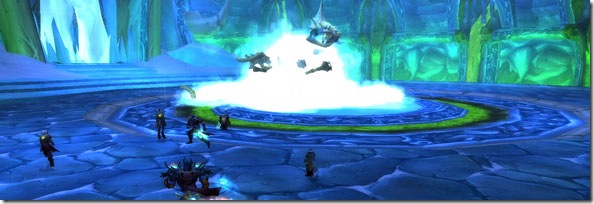
Frost Breath – After the Ice Bolts are fired off, he’s going to drop a nuke that will deal lots and lots of damage.
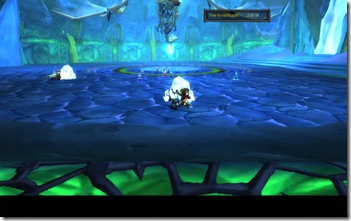
Wait until both bolts are fired before you move and start hiding behind them. Remember the Ice Bolt deals AoE damage upon impact. You don’t want to start grouping up together only to have the second bolt impale you and your cohorts, right?
Position yourself in such a way that the frozen player is between you and Sapphiron. Hide behind the block to avoid the insta gib that you’re about to take.
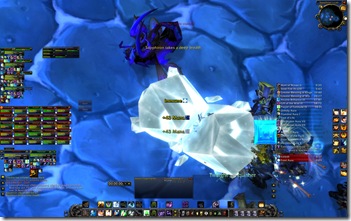
Sapphiron will then land, and it’s back to phase one.
Rinse and repeat!
Execution
During phase one, your best friend is Prayer of Mending. Ensure that you’re firing these off as soon as you can. This is where the 2-piece Faith set really comes in handy due to the bonus (Your Prayer of Mending bounces an additional time). This will help against the whole Frost Aura crap that your raiders have to endure.
Against the Life Drains, task any player that can Decurse. This includes your Mages, Druids, and Resto Shamans. That curse has to fall off or else it will slow the kill down. This fight is a matter of endurance.
Keep an eye on the Chills that float around the room. Be liberal with your Power Word: Shield.
As you enter phase two, Sapphiron starts flapping his wings and flying. This is when you want to start falling back and spreading out. Top off as many players as you can. Wait for both bolts to land, then pick the one closest to you and hide behind it. Don’t stick around and wait. Use your instant spells to try and catch as many players as you can.
For the Holy Priests, slam your Circle of Healing. For the Discipline ones, Penance and Flash as much as possible.
Once the blocks shatter, resume phase one. Keep up what you’re doing, and you’ll end up in the clear.
Extra tips
Remember to Shadow Protect your raid.
Consider crafting around 2 Frost Resist sets if your healers are undergeared (or underperforming) to buy more time.
Potential exploit: I don’t know if this is intended or not and I’m not sure if it’s been fixed. But I’m saying it here so that I can raise awareness. During phase 2, players can run toward the back of the room onto the grated area. By standing there, you can avoid the Frost Breath that lands. Don’t even have to worry about using the blocks to line of sight.


 This is a guest post from friend and bodyguard Cassio